
Upload Data to PostGIS using QGIS
There are many ways to upload data to a PostgreSQL/PostGIS database, including both GUI and command line tools. QGIS can be used to upload both spatial and non-spatial data into PostgreSQL/PostGIS. In QGIS, there are at least five ways to load data into a PostgreSQL/PostGIS database using the QGIS GUI, namely:
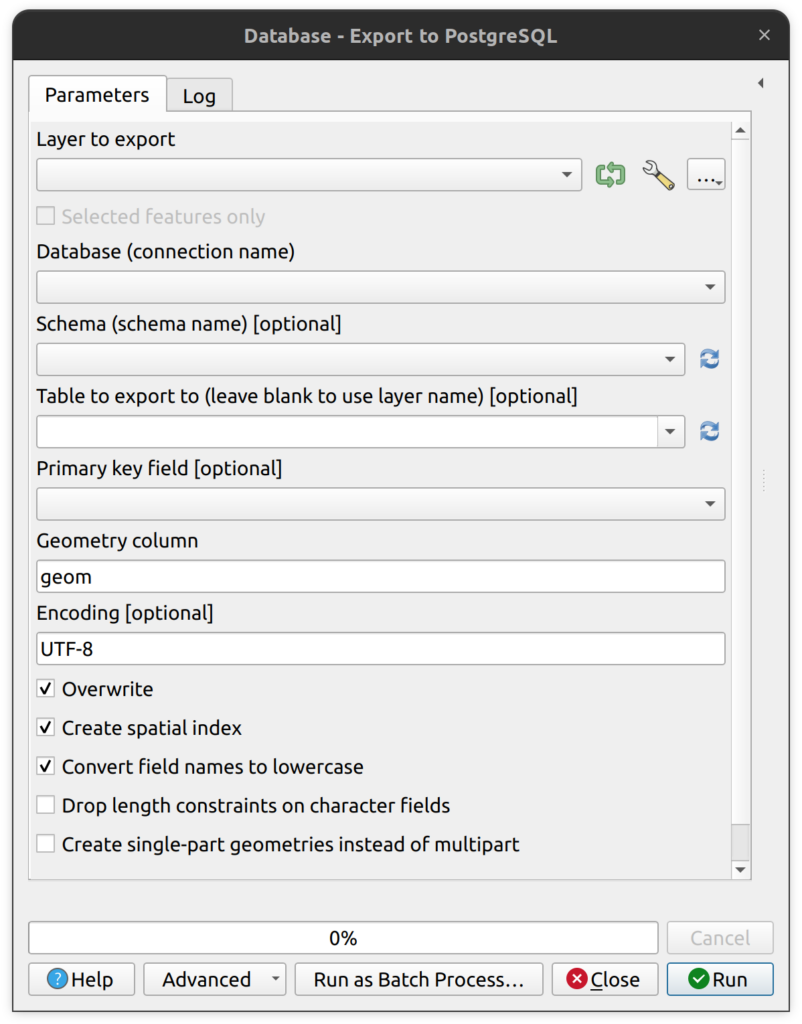
1. Export to PostgreSQL is a native QGIS tool in the processing toolbox that supports the export of any vector layer to an existing PostgreSQL connection. This simple tool has some helpful options, such as converting single-part geometries to multipart, but lacks the ability to do things like transform data into different SRIDs on import or set a primary key. Batch processing is possible with this tool and it can be incorporated into the Graphical Modeler.

2. Export to PostgreSQL (available connections) and Export to PostgreSQL (new connection) are two GDAL tools that can also be used to export vector data to an existing or new database connection. These tools provide more export settings than any other tool in QGIS, such as the ability to reproject to other CRSs, the ability to filter values on import using a WHERE clause, and the ability to set a new column as the primary key (e.g. id). As with the Export to PostgreSQL tool above, the GDAL tools can be used in batch processing and custom QGIS tools in the Graphical Modeler.

3. The DB Manager’s Import Layer/File tool is very similar to the GDAL tool for exporting data to PostgreSQL. It provides a core set of tools for exporting data to PostgreSQL, such as setting the primary key, setting the name of the geometry column, setting and source and target CRS, replacing the destination table, and converting names to lowercase. Unlike the previous tools, this tool can only be used in the DB Manager and cannot be used for batch processing or in the Graphical Modeler. Consequently, this tool does not integrate into QGIS’ processing framework so when loading a large layer with this tool, QGIS may appear to freeze as the data is exported to the DB. Although opinions vary, the DB Manager is still a very useful tool for uploading data to PostgreSQL.
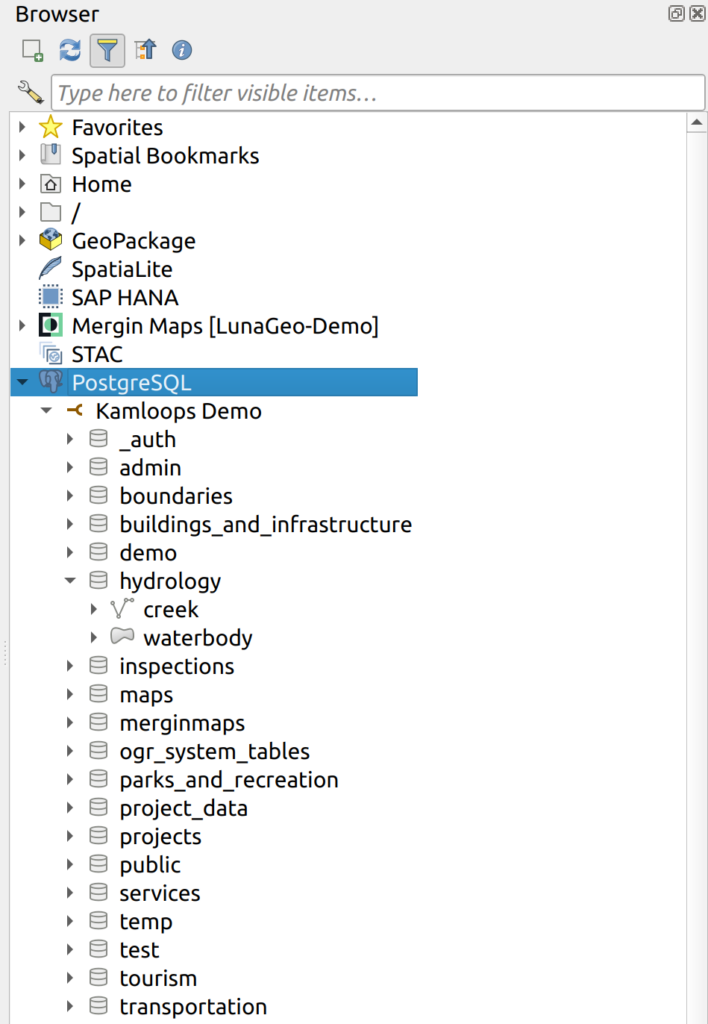
4. Dragging and dropping layers from the Layers Panel to the Browser Panel into an existing database is another way to load data into PostgreSQL. This can be done by expanding the desired database so you can see all the schema, then dragging a layer and dropping it onto the desired schema. Given there are no input parameters for this tool, all data is imported with source values for layer name and CRS. One notable modification that can be made when using this tool is the layer name. The layer is imported based on the layer name in the Layers Panel, which is not necessarily the filename. Caution should be used when importing using this technique since it does not create a sequence on import, even if there is no ID field.
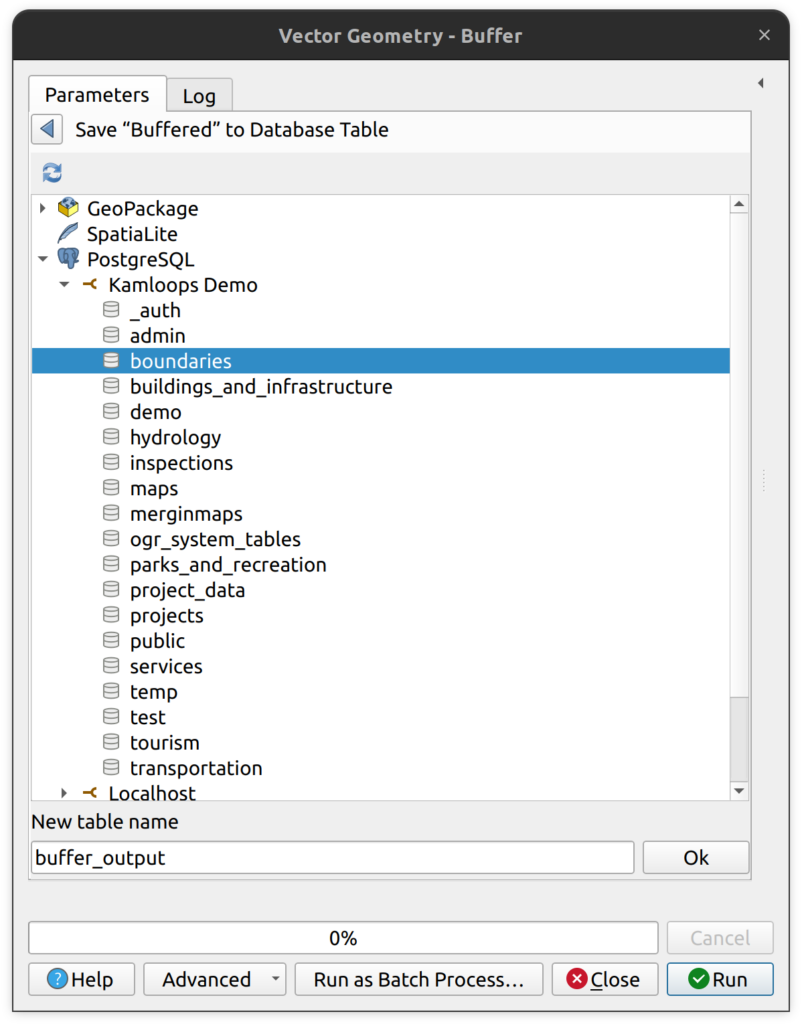
5. Tool output is another way to export data to PostgreSQL. In all native QGIS tools, the tool output can be saved to a number of locations, one of which is “Save to Database Table…”. Using this option, users can select the target database, schema, and provide a new table name. There are no other settings for things like target CRS, spatial indexes, etc. However, output layers are created with a primary key constraint in the database.
A cautionary note about ID fields
Before uploading a layer into the database, it is best to check if it has a field called “id”. If it does, the primary key and sequence may not be created properly, depending which tool you employ. Some tools will create a primary key with a new field name (e.g. id2), some will throw an error, and some will simply not create a primary key and sequence. Why does this matter, one might ask? If a layer is loaded without a primary key and sequence (or primary key with a UUID field), editing that layer may be problematic.
It is always advisable to evaluate a layer BEFORE uploading it to PostgreSQL. If there is currently a field called ID, you have several choices, including the following:
- Drop the current ID field before import if it is not needed. Then set the upload tool to create a primary key called “id”. That should create the primary key and sequence.
- Create a new primary key field called something other than id, such as “id2”. This is not the recommended solution, but works.
- Rename the old “id” field. If the old id value is important, consider renaming it something like “id_legacy” then create a new primary key called “id” on upload. This preserves the data but creates new primary key.
- Lastly, and perhaps the most complicated solution, is to upload the layer as is then turn the current id field into the primary key and create a sequence that continues from the last number. For example, if you upload a layer with a sequential id that ends at 999, you need to create a sequence that starts at 1000. This way you preserve the old id values but you’re also able insert new rows into the table.
Data Import Checklist
The following checklist can be used when evaluating layers prior to upload:
- Do all the layers have a defined CRS?
- Are all the layers in the same CRS or will some need to be transformed on import?
- Are the layer names in the Layers Panel all in lowercase_snake_case without any additional special characters?
- Do the layers have a field called “id” that needs to be dealt with prior to upload?
Task 1: Load a layer using the Export to PostgreSQL (available connections) Tool
In this task, you will use the Export to PostgreSQL (available connections) tool to load 4 layers into a database. This task assumes you have access to a database with the necessary permissions to create the schema and layers.
Note, all layers in this tutorial must be loaded in NAD83(CSRS) / UTM zone 10N (EPSG:3157).
1. In the Browser panel, right-click on Geopackage > New Connection. Connect the the tutorial geopackage called upload_to_postgis_tutorial.gpkg. Expand the new connection to view the contents.

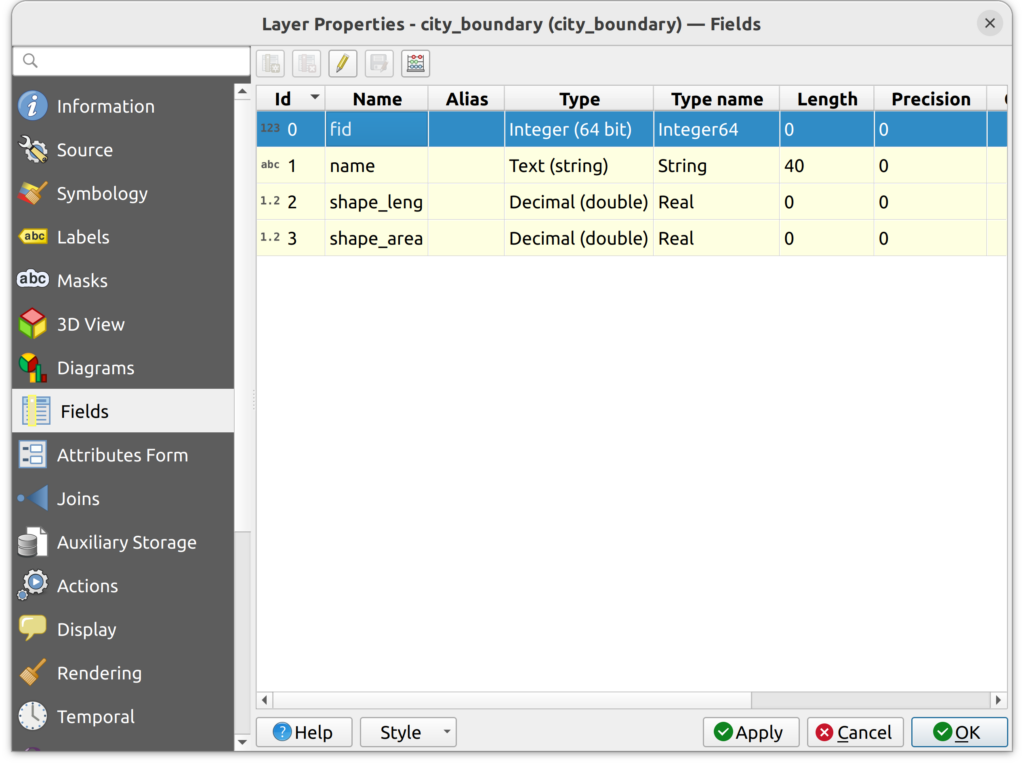
2. Load the city_boundary layer into QGIS and open the layer properties to review its CRS and fields to verify that it does not have an existing id field.
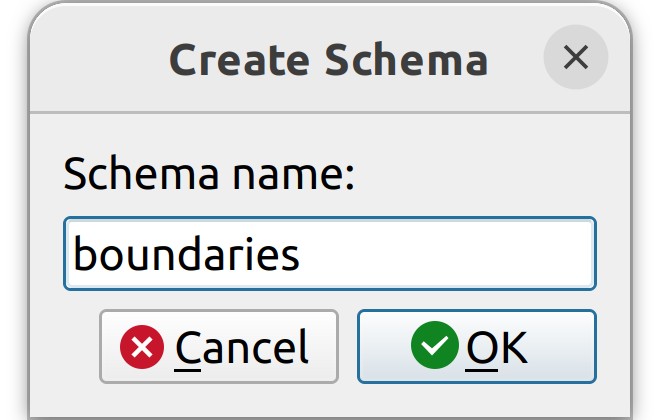
3. In your target database, create a schema called “boundaries”. You can do this in PGAdmin4 or in the QGIS Browser panel.
4. Open the Export to PostgreSQL (available connections) tool and enter the following parameters
- Database: select the target database
- Input layer: select the city_boundary layer
- Schema: boundaries
Note that for “Primary key (new field)” the default value is id. This means that a new field will be added to the layer called id and it will be the primary key. This tool will also create the associated sequence.
Keep all other values as default and click Run.

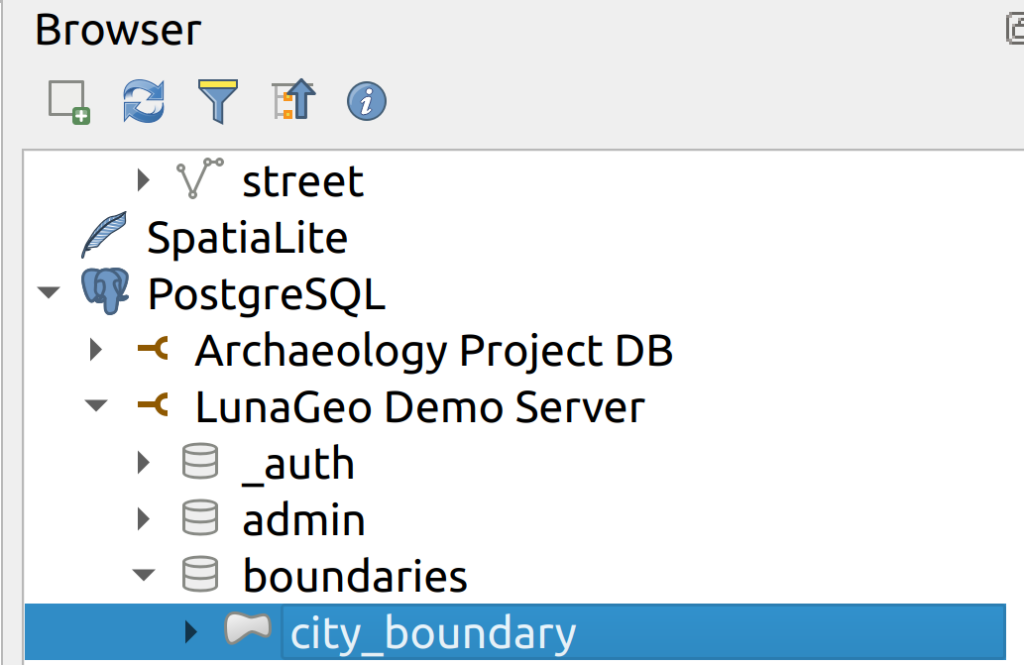
5. If you refresh the boundaries schema, you should now see the new city_boundary layer. Load it into QGIS and check for the id field and check that it is in the correct CRS (EPSG: 3157).
6. Create a new schema called “transportation”. Load the railway and street layers into the transportation schema by repeating steps 1 to 5.
In the end, you should have a boundaries schema that contains the city_boundary layer and a transportation schema that contains the railway and street layers. Well done!
Task 2: Upload and Transform the neighbourhood Layer to EPSG:3157
In Task 1 the three layers were all in the correct CRS. In this task, you will transform a layer to EPSG:3157 during upload. Moreover, you will also rename the layer and rename the current id field prior to upload.
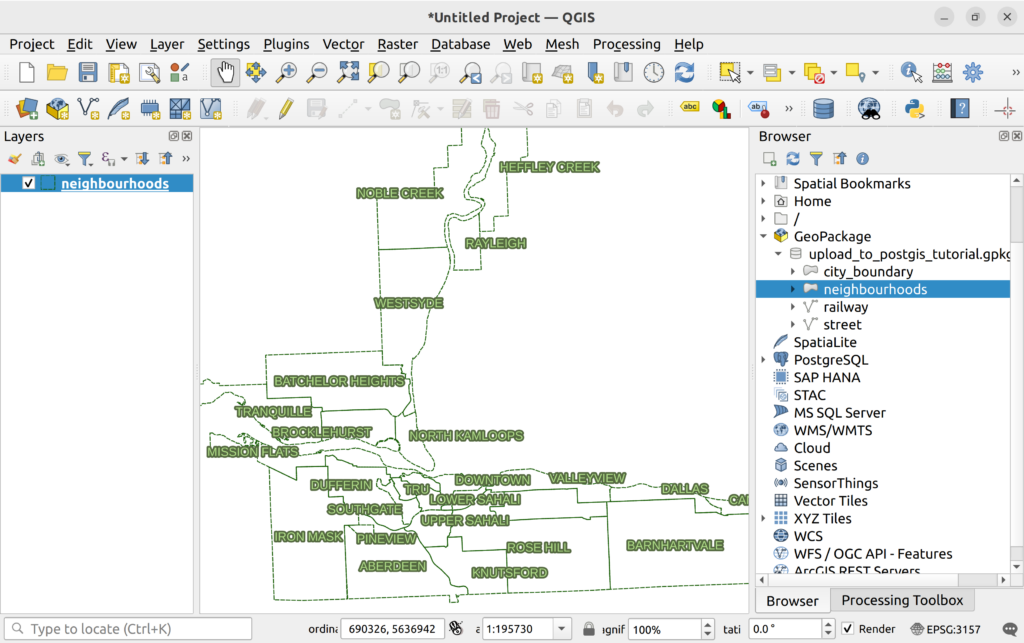
1. In the QGIS Browser panel, expand the tutorial geopackage and add the neighbourhood layer to the map canvas.
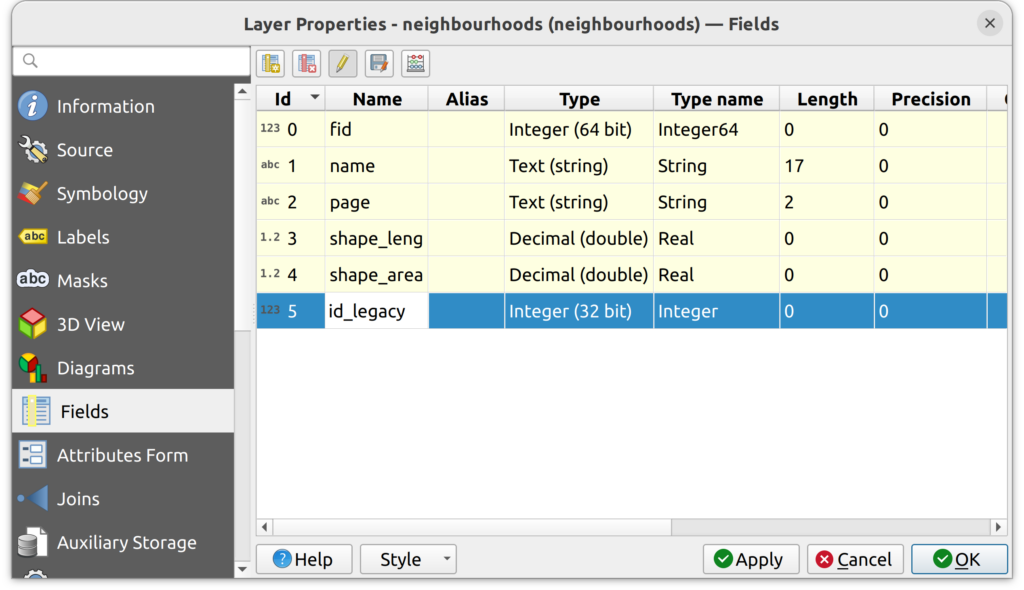
2. Open the layer properties and check the Fields tab. Note that there is currently a field called id. Let’s rename it before uploading to PostGIS.

3. To rename the id field, do the following:
- In the layer properties under the Fields tab, click the pencil icon to open and editing session.
- Double-click on the id field and rename it id_legacy.
- Turn off the editing session. You will be prompted to save the changes. Click Save.
- The id field should now be called id_legacy. Close the Layer Properties.
4. Locate and open the Export to PostgreSQL (available connections) tool and enter the following parameters:
- Database: select the target database
- Input layer: select the city_boundary layer
- Schema: boundaries
- Reproject to this CRS on output: select EPSG:3157.
- Table to import to: kamloops_neighbourhoods
- All other settings set to default.
With the above settings, the neighbourhoods layer will be uploaded to the boundaries schema and renamed kamloops_neighbourhoods. It will also be transformed to EPSG:3157 during upload.
5. From PostGIS, load the new kamloops_neighbourhood layer onto the map canvas and open the layer properties. Note that the new CRS is now EPSG:3157. Also note that a new id field has been created that is the primary key and populated by a sequence.
How to determine if a sequence has been created?
As mentioned above, PostgreSQL sequences create sequential integers that can be used for primary key fields (usually the id field). So, when a new row is added to a table with an associated sequence, it will automatically get the next available integer value. By using the Export to PostgreSQL (available connections) tool, sequences are automatically created on the id field.There are a number of ways to check that the sequence has been created. Here are a few easy ways to check:
Method 1: Check the Layer Information in the QGIS DB Manager.
- Open the QGIS DB Manager and expand the database used for this tutorial.
- Expand the boundaries schema and click the city_boundary layer.
- Note that for the id field, there is a default value that contains a function — no need to understand what this means, just know that this is the function that created the next integer value.

Method 2: Look for a Sequence in PGAdmin4
- Open the PGAdmin4 and expand the database used for this tutorial.
- Expand the boundaries schema and click the city_boundary layer.
- Note that for the id field, there is a default value that uses the “nextval” function that references a sequence called “city_boundary_id_seq”. This tells you that there is a sequence being used on the id field.

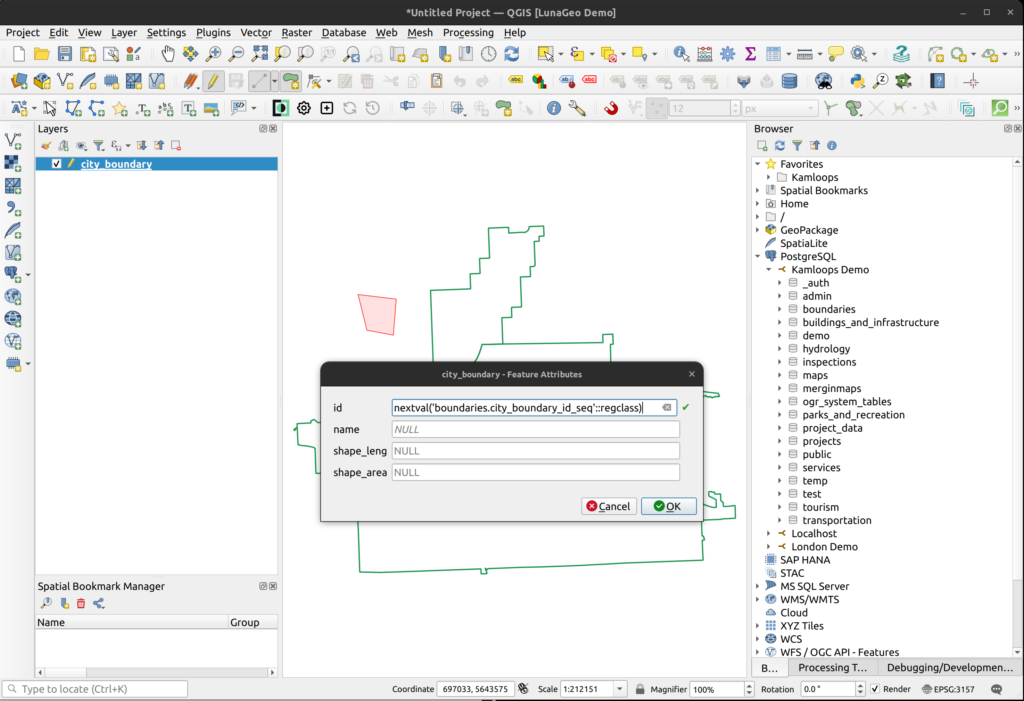
Method 3: Edit the city_boundary layer in QGIS
- In the QGIS Browser Panel, expand the boundaries schema and load the city_boundary layer.
- Turn on editing for that layer and draw a polygon on the map canvas.
- When you right-click close the polygon, the popup that appears shows the nextval function is the default value for the id field. This indicated that there is a sequence.
- Click Cancel and turn off editing WITHOUT saving the changed.
How can we help?
Contact us today to schedule a free consultation with a member of our team.