
Style Vector Layers in Geoserver
This tutorial details how to style vector layers in Geoserver. Geoserver and QGIS read and write a common style format called Styled Layer Descriptor (SLD) which are used to style layers for Web Map Services (WMS). Follow these steps to export an SLD from QGIS and import it into Geoserver.
1. In QGIS, load the layer that was published with Geoserver. It is usually best to load the source layer in case column names or data types have changed. For example, if the layer was served from PostGIS, load that same layer directly from PostGIS.
2. Style the layer as desired (save style as Default in PostgreSQL, if required).
3. Open the layer properties, click on the Symbology section, and on the bottom click on Style > Save Style…
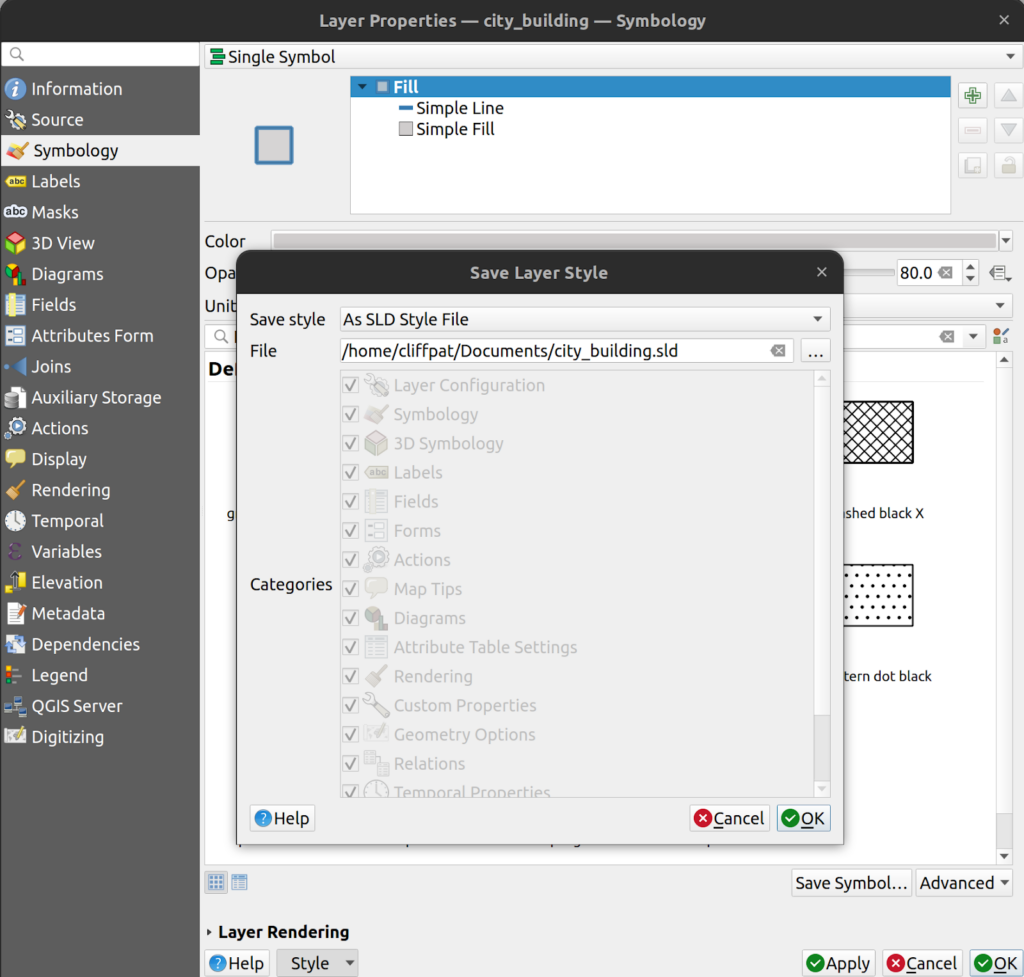
4. In the Save Layer Style dialog box, set the following parameters:
- Save style: As SLD Style File
- File: set output location with .sld extension.
- Click OK.
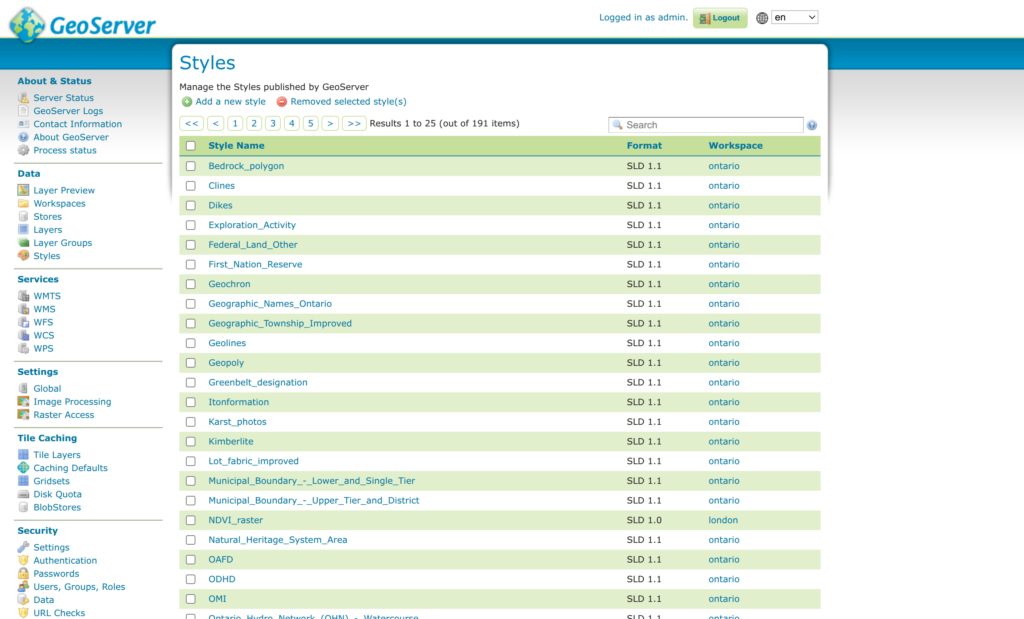
5. Log into Geoserver and on the left menu, click on Data > Styles. At the top of the page, click “Add a new style”.
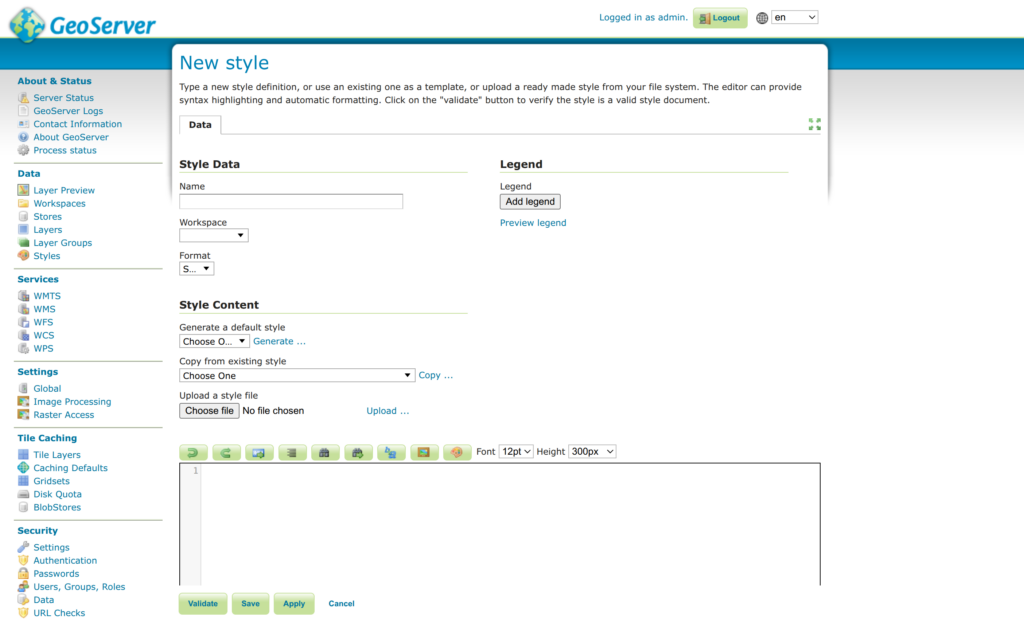
6. On the New Style page, click the “Choose file” button and locate the SLD file that you created in Step 4. Once located, click Upload…
7. The SLD file will upload and the XML will appear in the large text box.
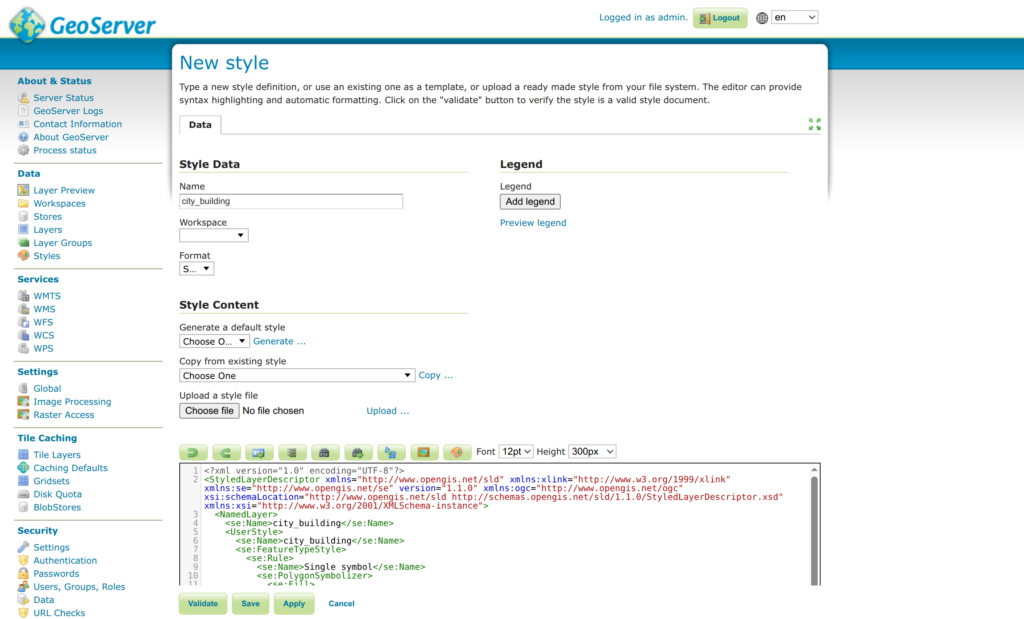
8. The style Name will be automatically taken from the file name. Change it, if required.
9. Click the Preview legend button if required.
10. Note that the style will be added to the default workspace unless changed. If you want to store the style with the layer in its own workspace, change the Workspace using the dropdown menu.
11. Modify the SLD parameters if required (e.g. change the Name parameter to improve the legend text).
12. Click the Validate button to make sure there are no errors in the SLD file.
13. If successful, click the Save button.
14. On the left menu, click on Layers and then click on the layer that requires the new style to be applied.
15. In the Edit Layer page, click on the Publishing tab at the top, then scroll down to the WMS Settings. Here you will see the Default Style applied to the image (usually called ‘raster’ for imagery). Change the default style to the style you just created.
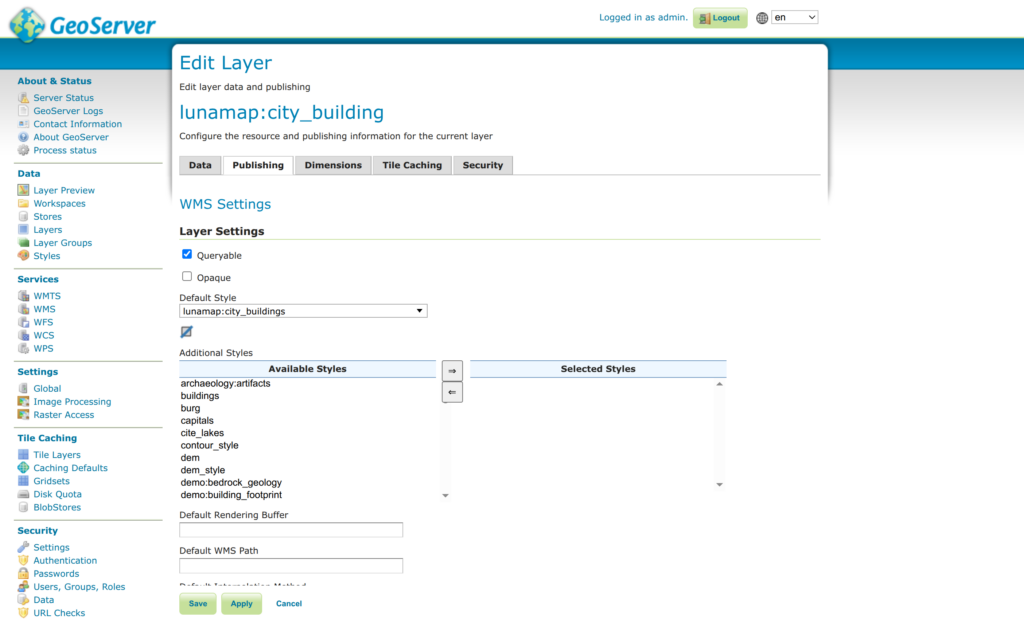
16. Click Save.
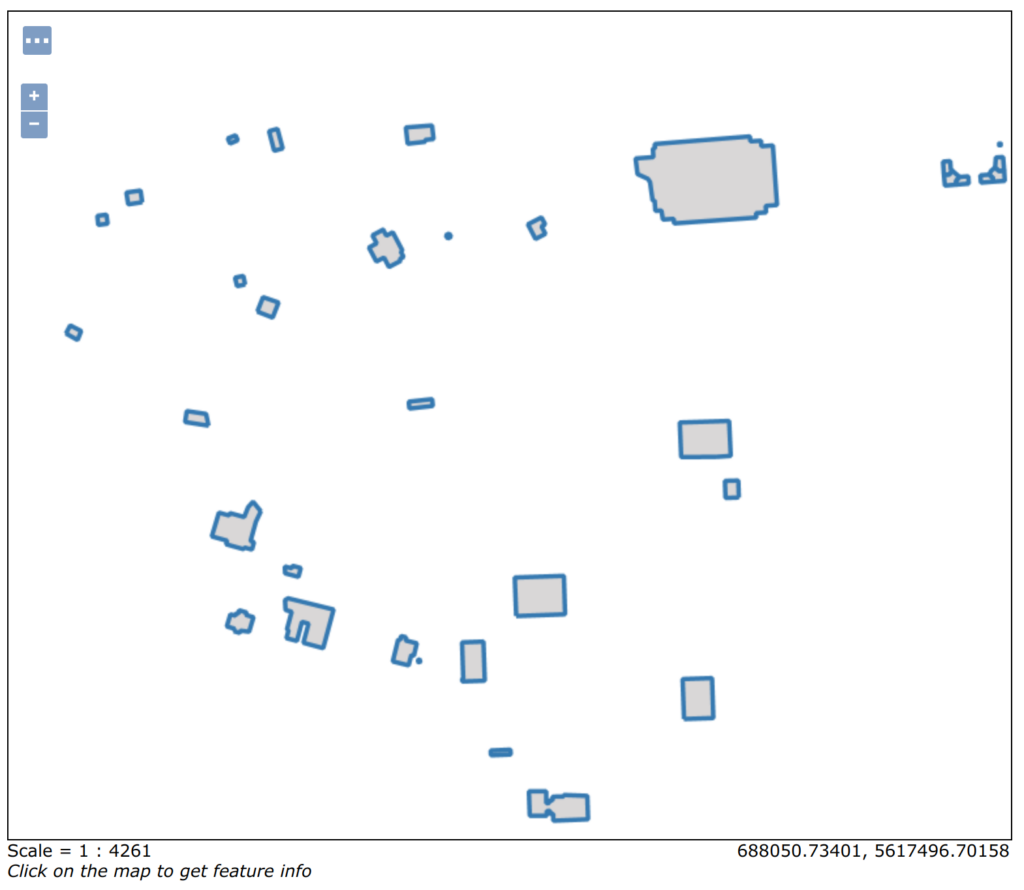
17. On the Geoserver left menu, click on Layer Preview and preview the layer that should have the new style.
How can we help?
Contact us today to schedule a free consultation with a member of our team.