
Publish PostGIS Layers in LunaMap
The following instructions document how to publish PostGIS layers in LunaMap. These instructions assume that you have already published the layer in Geoserver – if needed, see here for instructions on how to publish PostGIS layers in Geoserver.
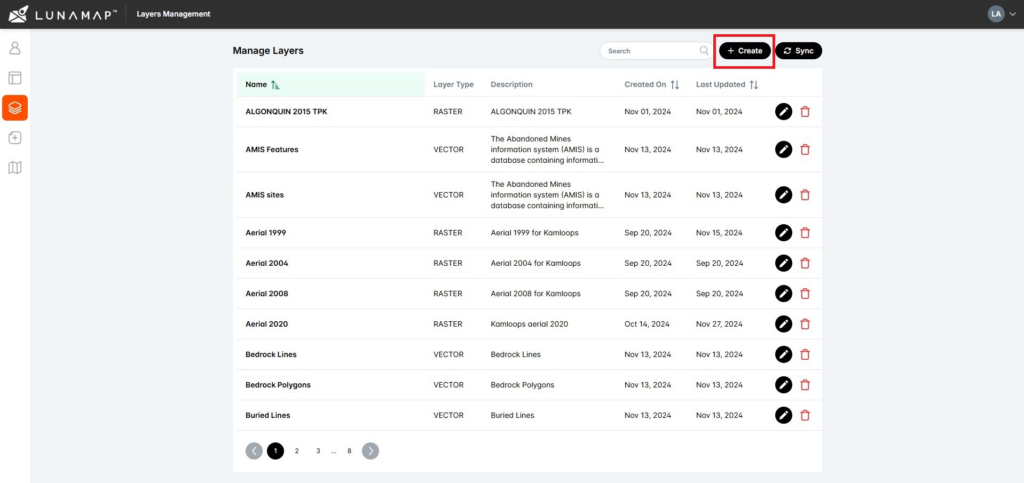
- Log into LunaMap as an Administrator. Only Administrators can access the Layer Manager page.
- Navigate to the Layer Manager at yourdomain.com/layers.
- In the Layer Manager page, click on the Create button on top-right.
- There are six steps to publishing a PostGIS layer in LunaMap.
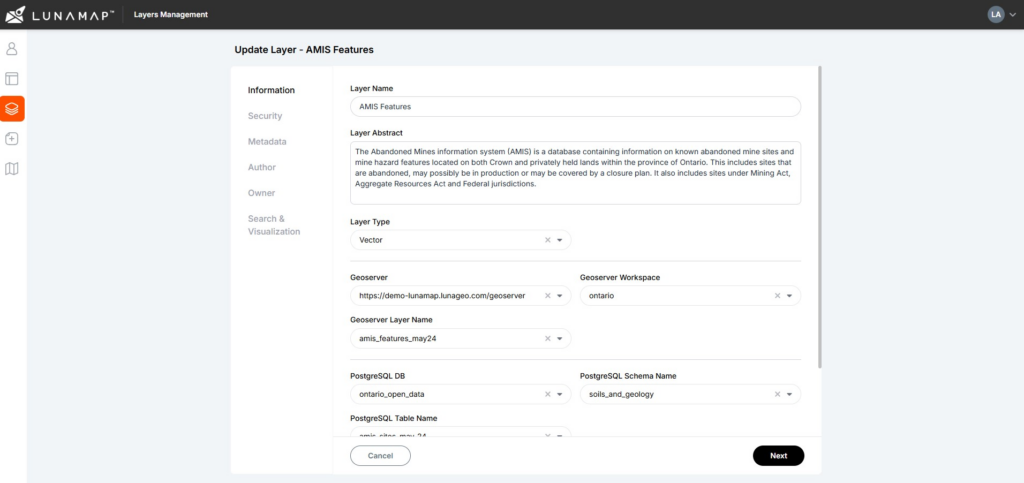
Step 1: Layer Information
- Input the title that defines the layer in the Layer Name field.
- Provide a short description of the layer in the Layer Abstract field..
- Select Vector from the Layer Type dropdown menu.
- Provide the GeoServer instance used for this layer in the GeoServer field.
- Select the workspace within the selected instance where the source layer is added from the GeoServer Workspace dropdown menu.
- Provide the GeoServer layer name that corresponds to the PostGIS layer..
- Provide the PostgreSQL database used for this layer in the PostgreSQL DB field.
- Select the schema used for the data source in the PostgreSQL Schema Name field.
- Specify the table where the source data is stored in the PostgreSQL Table Name field.
- From the Tile Type dropdown menu, select the desired tile type. Single Tile is used for rendering the entire layer as one image while Tiled will render the layer in 512pxx512px tiles.
- Select the format in which you want the layer to be rendered in LunaMap, either PNG or JPEG, from the Image Format dropdown menu.
- Click on the “Next” button in the bottom right corner to proceed to the next step, the Security settings.
Step 2: Layer Security
The Layer Security section defines the workspaces where the PostGIS layers will be available.
- In the Available Workspaces section, select the workspace(s) in which you would like the layer to be available from the list of available workspaces. Use the right arrow in the center to assign a layer to the selected workspace or the left arrow to revoke access.
- Alternatively, toggle the option for “Grant Access to All Workspaces” to make the layer available in all workspaces.
- Click on the “Next” button in the bottom right corner to proceed to the next step.

Step 3: Layer Metadata
- In the Language section, select the language used for the layer in the “Language” drop down menu.
- In the Categories section, select the category or categories that relate to the new layer.
- In the Keywords section, enter into the “Keyword” field any terms that best describe the layer.
- Click on the “Next” button in the bottom right corner to proceed to the next step.

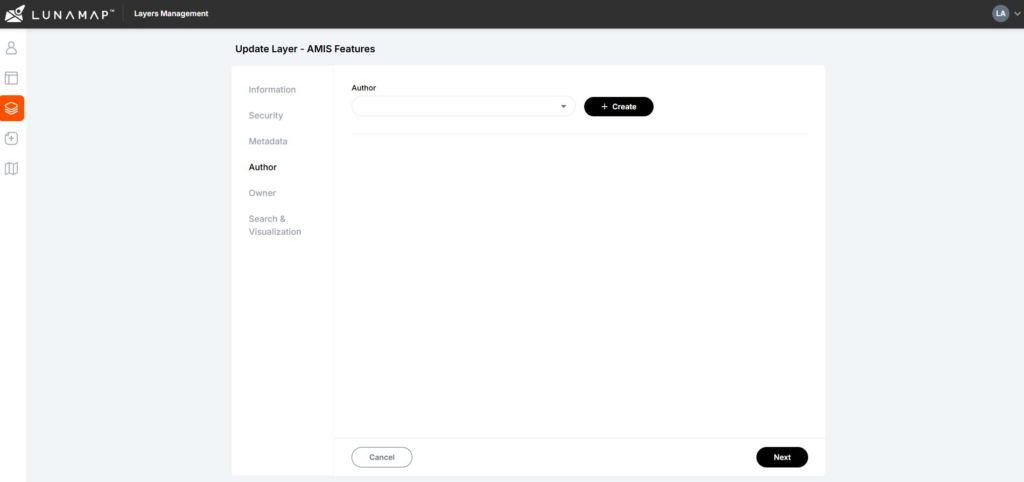
Step 4: Layer Author
- In the “Author” field, provide the name of the author. The author is the entity (person or organization) that created the data.
- When defining the author, you can select an existing author from the dropdown list. If the author is not listed, click the “Create” button in the top-right corner to add a new author.
- Click on the “Next” button in the bottom right corner to proceed to the next step.
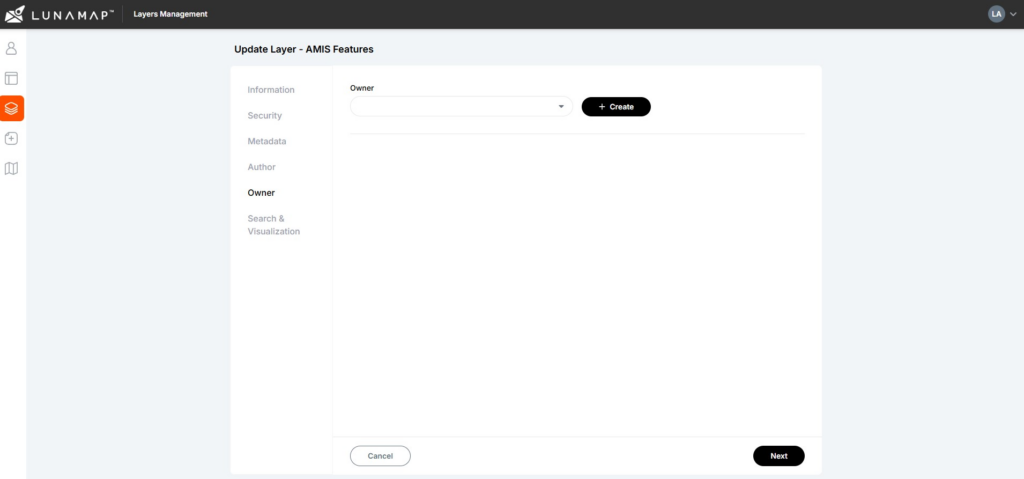
Step 5: Layer Owner
- In this step, provide information about the owner of the layer. The owner is the entity (person or organization) responsible for the data. Like the author, the owner can be selected from an existing list or created as a new entry by clicking the “Create” button.
- Click on the “Next” button in the bottom right corner to proceed to the next step.
Step 6: Search and Visualization
The Search and Visualization section allows users to define which fields in a layer should be searchable and visible within LunaMap.
- In the “Searchable Fields” section, select the fields that should be searchable using the search and zoom tool.
- In the”Identify Popup” section select the fields that will appear in the identify popup when a user clicks on a feature.
- In the “More Details” section, select the fields to be displayed in the right panel when the user clicks the More button in the Identify popup. These fields will also appear in the Attributes table.
- Click on the “Save” button in the bottom right corner to complete the process of publishing the PostGIS layer.

How can we help?
Contact us today to schedule a free consultation with a member of our team.