
Importing and Converting GPS Data Using QGIS
Summary
GPS data is commonly downloaded in tabular format. In this tutorial, you will learn how to display and save tabular point data as a shapefile in QGIS.
What You’ll Learn in this Tutorial
- Load and display a text-delimited table as a spatial layer in QGIS
- Import GPS point data from a CSV file
- Export spatial data to shapefile format
- Work with GPS data collected in Windsor, Ontario
Prerequisites
1. Create a New QGIS Project
1. Open QGIS 3.x and make sure the Browser Panel is open.
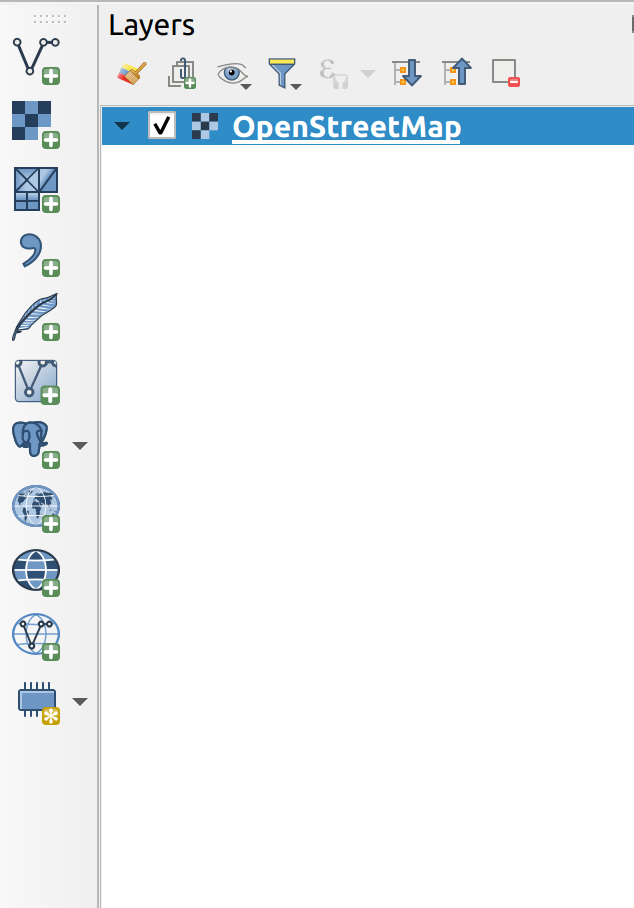
2. Load OSM basemap from the Browser Panel.
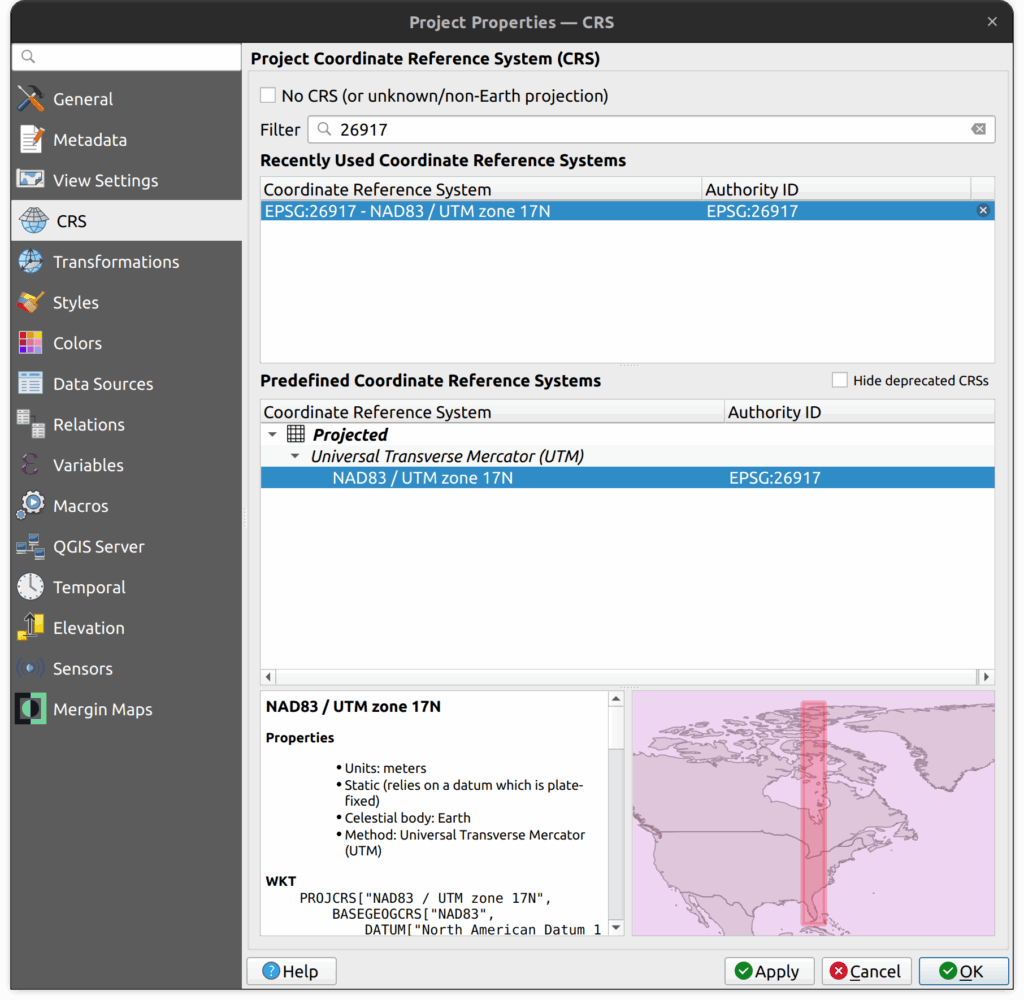
3. Set the project CRS to EPSG:26917. Do this by clicking on the button at the bottom left of the QGIS screen and then search for “26917” to locate the correct CRS. Click OK once select.
NOTE: the map will look distorted. That is expected.
4. Add the Manage Layers Toolbar – this is a handy toolbar to have. It loads on the left side of the screen by default.
5. Expand the tutorial folder and add the gps_points.csv file to QGIS.
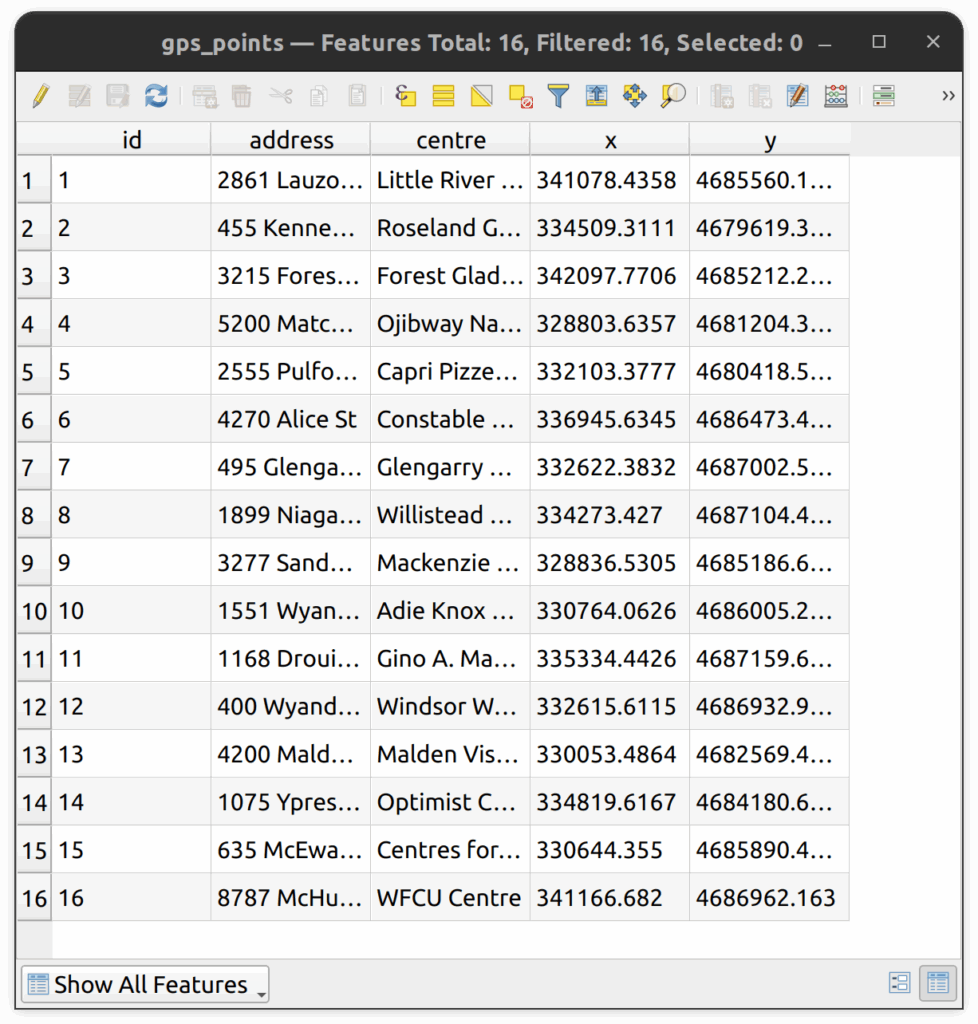
6. Open the attribute table to examine the data.
7. If you had to guess, are the points in UTM or Lat/Long?
8. Indeed, the points are in UTM, EPSG:26917 (UTM Zone 17N to be exact). In the best circumstances, when importing GPS data, we will know the CRS.
NOTE: the CSV file loads as a table – no points are displayed on the map. Lets fix that in Section 2 below.
9. Remove the CSV file from the project (right-click layer > remove).
2. Convert the CSV file into a Spatial Layer
1. On the Manage Layers Toolbar, click on the Add Delimited Text Layer button (4th down) and set the following parameters:
- Select the CSV file in the tutorial folder.
- File Format: CSV.(comma separated values)
- Make sure the checkbox “First record has field names” is selected.
- Under Geometry Definition, Point Coordinates should be selected and the X and Y columns should be automatically selected. If not, select the proper columns.
- For Geometry CRS, select EPSG:26917
- Click Add and click Close.
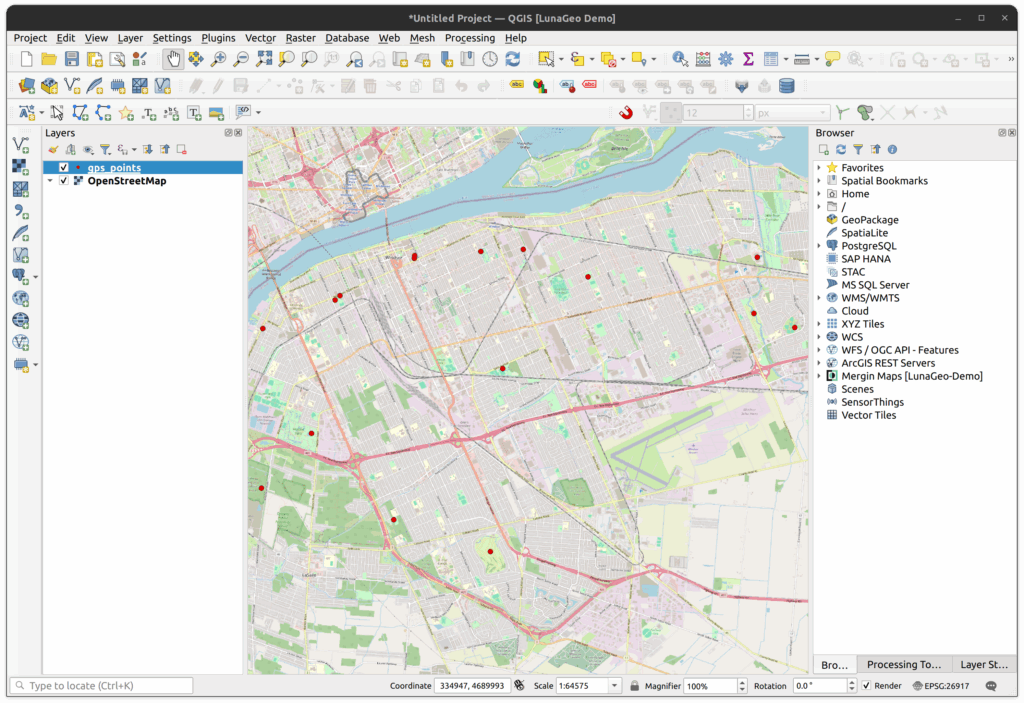
2. Right-click on the gps_points layer and click Zoom to Layer. The GPS points should now appear on the map.
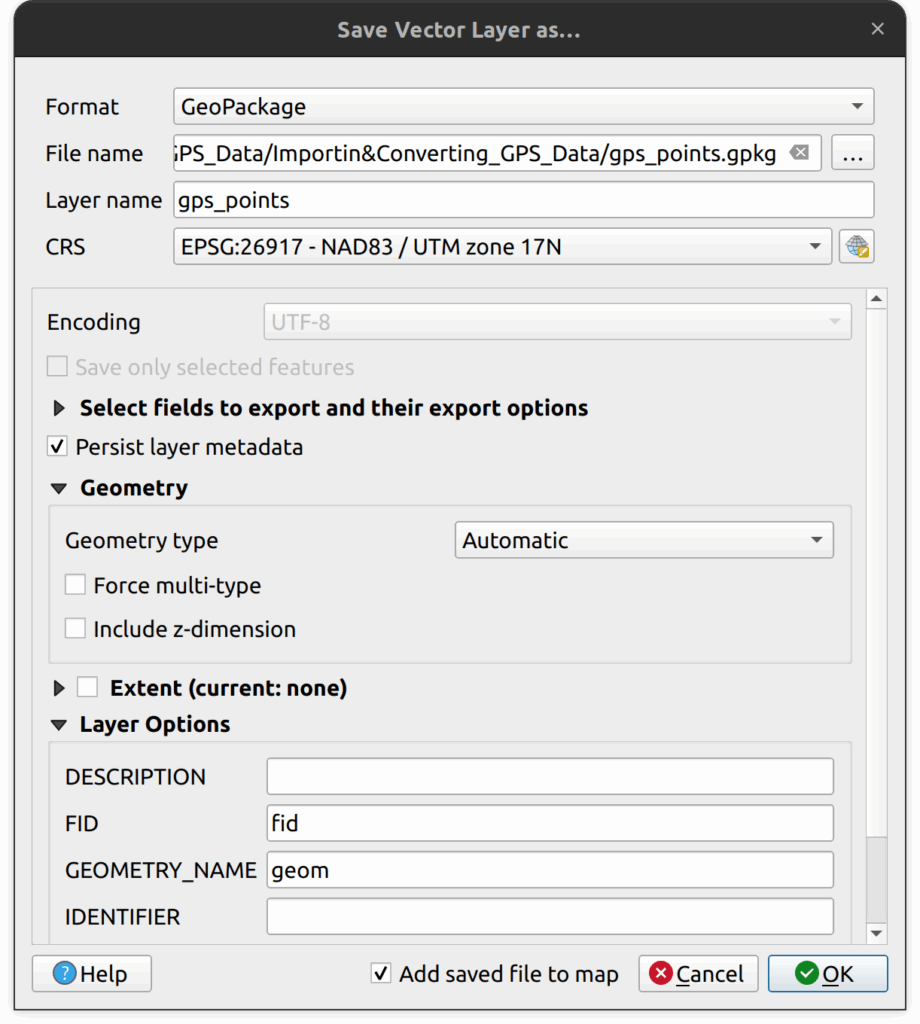
3. Export the new layer to a geopackage:
- Right-click on the layer > Export > Save Features As
- Change Format to GeoPackage.
- For File name, select the destination and name for the Geopackage (e.g. gps_points.gpkg)
- For Layer name: gps_points
- Click OK.
4. The new GeoPackage layer should load on the map.
How can we help?
Contact us today to schedule a free consultation with a member of our team.