
Creating a Map in LunaMap
Maps are created and stored within a workspace using raster and vector layers that were published to that same workspace. While a workspace can contain multiple maps, each map belongs exclusively to one workspace, owned by the map creator, and only accessible to users within its workspace.
- Ensure the correct workspace is selected by checking the active workspace in the top-right menu of the navbar.
- Click on the hamburger menu in the top-left corner and select maps.
- Click the New button to start creating a map.
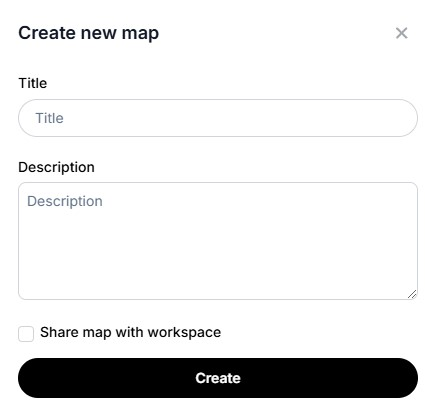
- In the create new map dialogue box, enter the following map details:
- Provide a title for the map (required).
- Add a description for the map (required).
- Choose whether to share the map within the workspace (sharing with the workspace makes it visible to all users within its workspace).
- Click the Create button to save the map.
- The newly created map will appear in the left panel and will be automatically selected as the current map.
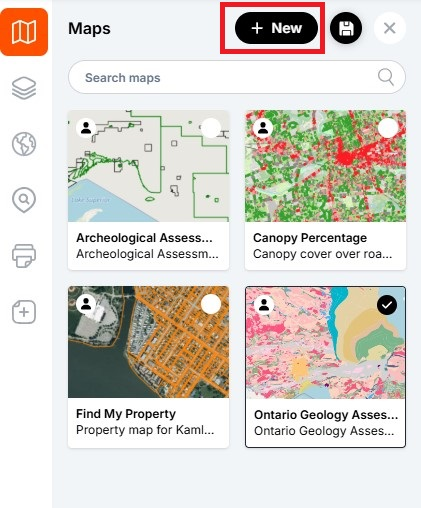
Switching Maps
- From the map page, open the Maps panel on the left sidebar. All accessible maps within a workspace are listed as cards in the Maps panel.
- Click on any map card to switch to a different map.
- The active map is highlighted and marked with a checkmark.

How can we help?
Contact us today to schedule a free consultation with a member of our team.