
Create Your First Spatial Database using PostGIS
In this tutorial, you will connect to your database server, create a new database, enable the PostGIS extension in the new database, and build schemas and tables.
What You’ll Learn in this Tutorial
- How to connect to a PostgreSQL DB server from PGAdmin4.
- Create databases, schemas, and tables using PGAdmin4 and SQL.
- Configure a database with the PostGIS spatial extension.
Prerequisites
- Install the latest PGAdmin4 from here.
- A PostgreSQL database connection with sufficient permissions to create a new database.
Task 1: Download and install PGAdmin4
- PGAdmin4 is a database management client designed specifically for PostgreSQL. Although there are a few other comparable pieces of open source and proprietary software on the market, it is by far the most robust with the most support for the latest versions of PostgreSQL.
- Navigate to www.pgadmin.org/download/ and download PGAdmin4 for your operating system. PGAdmin4 also has excellent documentation and video tutorials if you need a little extra help.
- Install the software.
Task 2: PGAdmin4 overview
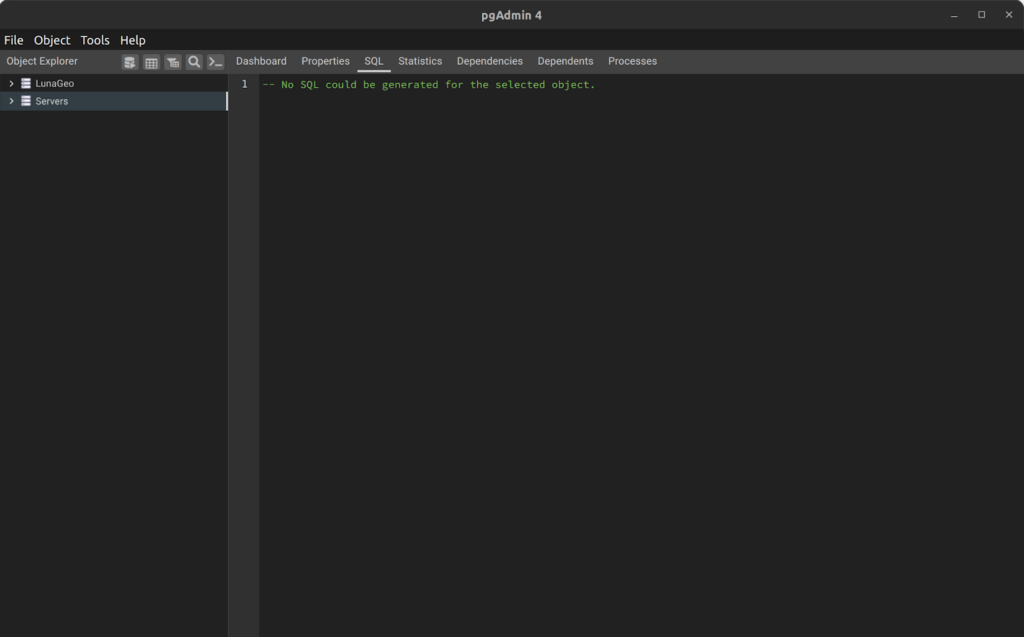
PGAdmin4 contains the following main components:
- A top menu giving access to a range of important tools, preferences, and help. The top level options are File, Object, Tools and Help.
- An Object Explorer panel on the left side lists Server Groups and Servers. It also contains five buttons to activate tools, namely the Query Tool, View Data, Filter Rows, Search Objects, and the PSQL tool (more on some of these in later tutorials).
- The main panel on the right is where tools open. It also contains seven tabs for different tools, namely:
- The Dashboard tab shows metrics for your database.
- The Properties tab for the selected item.
- The SQL tab shows the SQL statements associated with a selected object.
- The Statistics tab shows statistics associated with the selected object.
- The Dependencies tab shows a list of dependencies associated with a selected object (i.e. objects that the selected object is dependent upon).
- The Dependents tab shows a list of dependents associated with a selected object (i.e. a list of objects that depend on the selected object).
- The Processes tab lists current and past processes as well as the status of each.
Task 3: Connect to your DB server
- Open PGAdmin 4.
- Create a new Server Group from the top menu by clicking on Object > Create > Server Group…
- Name the new server group “Training”. In this group you can add all of your personal connections to various database servers. Click Save and the new group should appear in the Object Explorer panel.
- Right-click on the Training group and click on Register > Server…
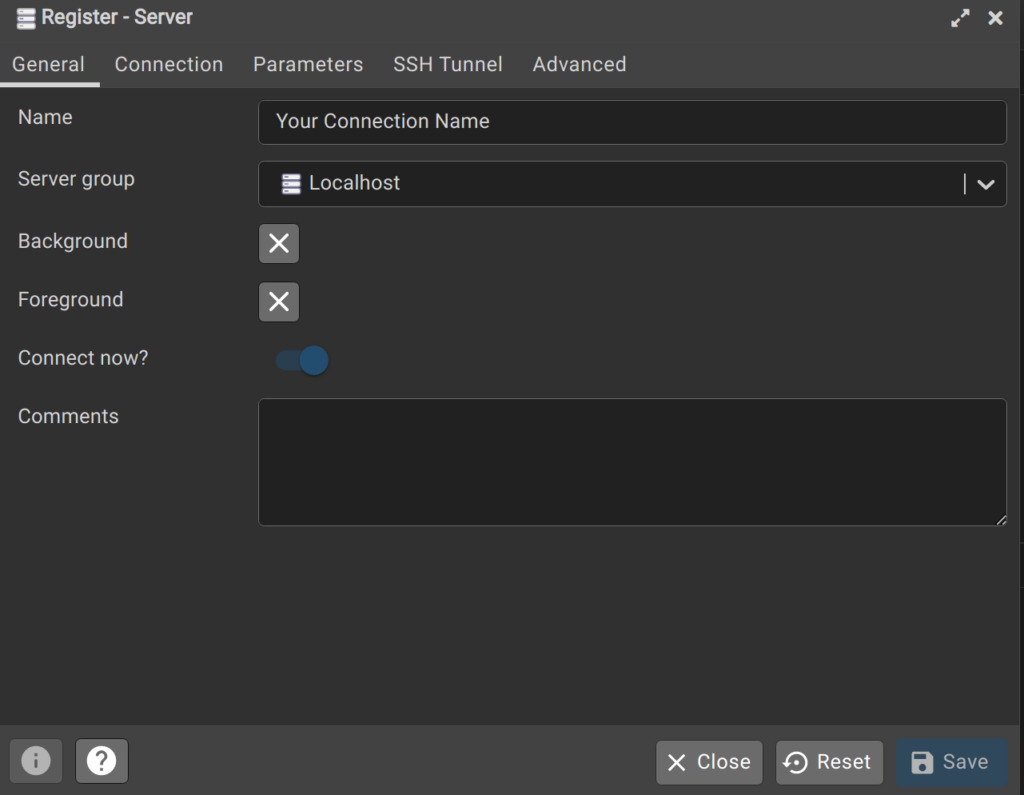
- In the Register – Server dialog box, enter the following information:
- On the General tab name your connection (e.g. Training Database).
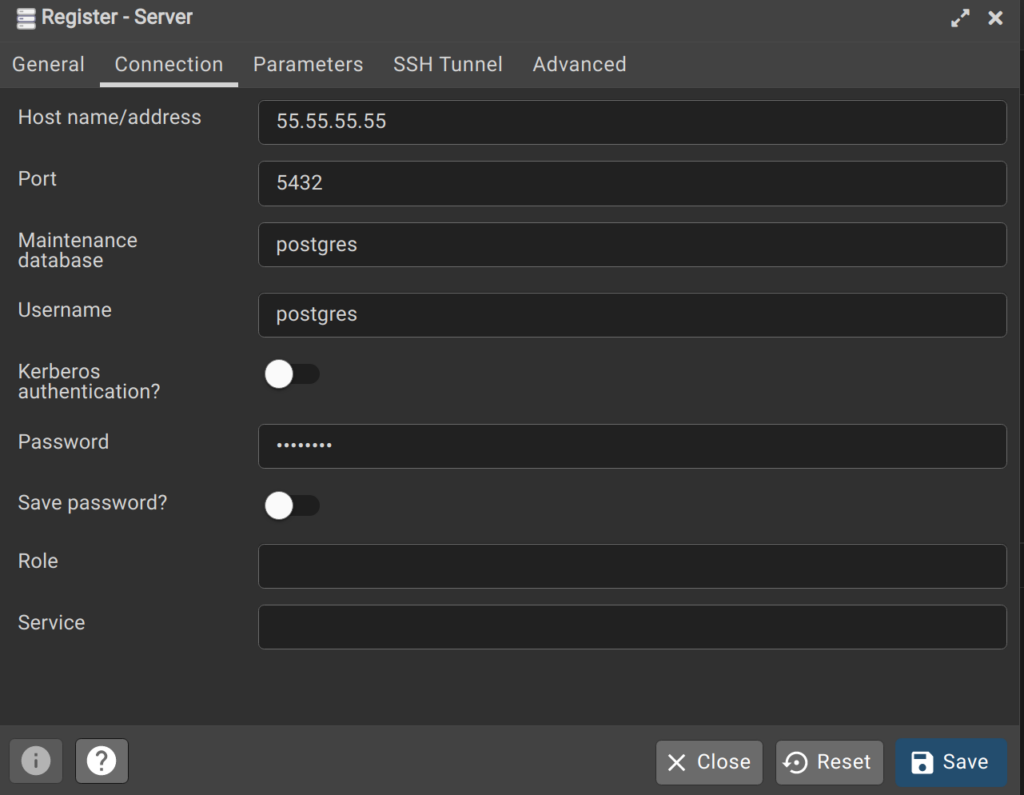
- On the Connection tab, enter your server’s IP address for the Host name/address (e.g. mypg.mydomain.com), enter your username (e.g. postgres), and password. Be sure to select “Save password?” so you do not need to re-enter the password each time.
- Click the Save button. If you get an error message, review your login information and try again. If you still cannot connect, contact LunaGeo Support if you are attempting to connect to a LunaGeo Server.
Task 4: Create a new database
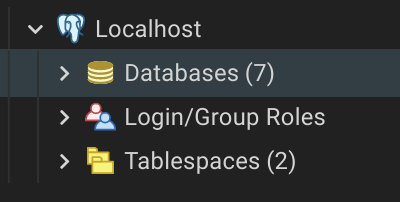
- Expand the new connection by double-clicking on it in the Object Explorer panel.
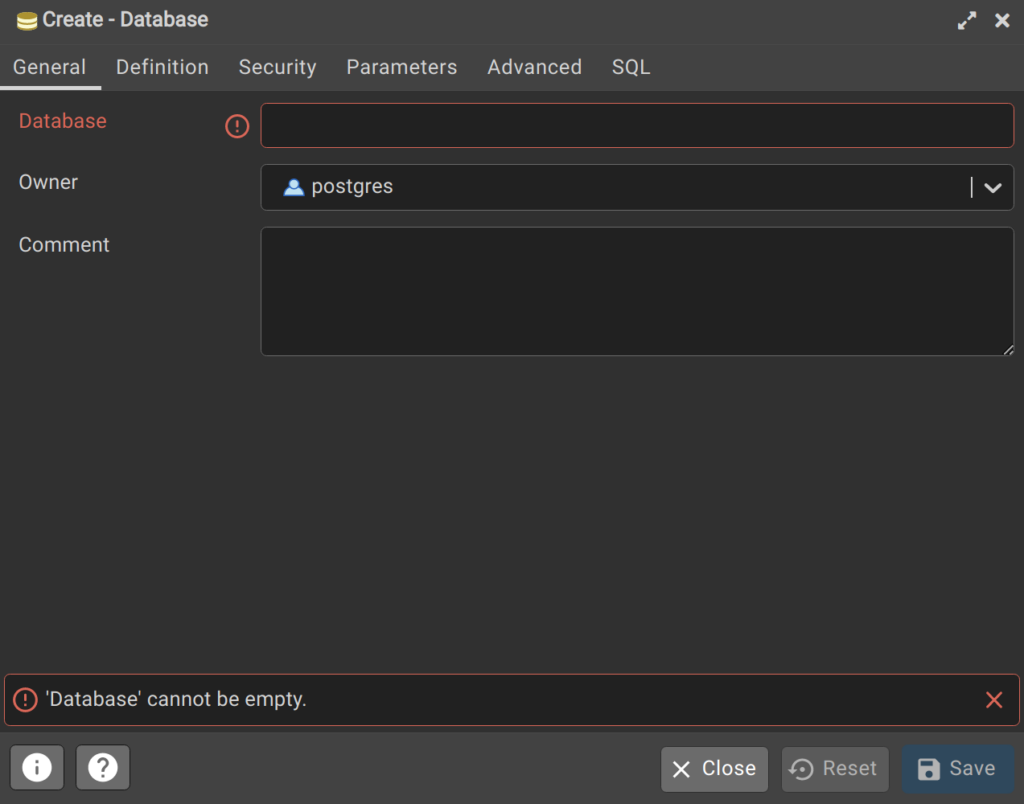
- Right-click on Databases > Create > Database.
- For now, all we need to do is define the Database name. Enter “training” as the Database name. Be sure to write it in lowercase.
- Click Save to create the database.
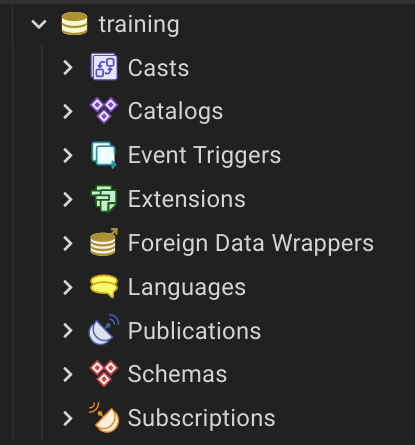
- Double-click on the Databases section of the tree to show all the databases on your server and then double click on the training database.
- The tree should expand to show all the objects in the database.
Task 5: Add the PostGIS Extension
- Your server should already have PostGIS installed. If not, consult the PostGIS manual for instructions to do so.
- Adding the PostGIS extension to the training database is as easy as expanding the DB connection, then click on the Query Tool button (or Alt Shift Q).
- In the Query Tool, enter the following: CREATE EXTENSION postgis;
- Click the Execute button or F5 to execute the statement. The Messages section should say the following if the extension was installed correctly:

Task 6: Create a schema
- Double-click on your training database connection, double click on the training database, and then double-click on the Schemas section. Note that there is only one schema, namely the default schema.
- Right-click on the Schemas section > Create > Schema…
- In the Create – Schema dialog, enter a name for the new schema as “lesson_1”. Be sure to use lowercase_snake_case when naming schemas, tables, and other objects.
- Click Save and the new schema should appear in the list. You may have to refresh the schemas by right-clicking schemas and click on Refresh.

Task 7: Create a spatial table in the lesson_1 schema with a SQL statement
1. Expand the training database connection and the training database in PGAdmin 4.
2. Open the Query Tool and enter the following statement:
CREATE TABLE lesson_1.my_first_spatial_table (
	id SERIAL PRIMARY KEY,
	geom geometry(Point,3857),
	location_name VARCHAR NOT NULL,
	comment TEXT
);
3. Press F5 or the Execute button to execute the query.
4. To insert some data, run the following statement:
INSERT INTO lesson_1.my_first_spatial_table (geom,location_name)
VALUES
	((ST_SetSRID(ST_MakePoint(-13397239.217,6566328.515), 3857)),'Test 1'),
	((ST_SetSRID(ST_MakePoint(-13397375.622,6565854.138), 3857)),'Test 2'),
	((ST_SetSRID(ST_MakePoint(-13397812.412,6566519.146), 3857)),'Test 3'),
	((ST_SetSRID(ST_MakePoint(-13396743.864,6565501.985), 3857)),'Test 4'),
	((ST_SetSRID(ST_MakePoint(-13398290.009,6567017.902), 3857)),'Test 5');
5. The ST_SetSRID() and ST_MakePoint() functions are used here to convert the point data (in EPSG:3857) into a point geometry type for PostGIS. We will learn more about these and other functions later in this course.
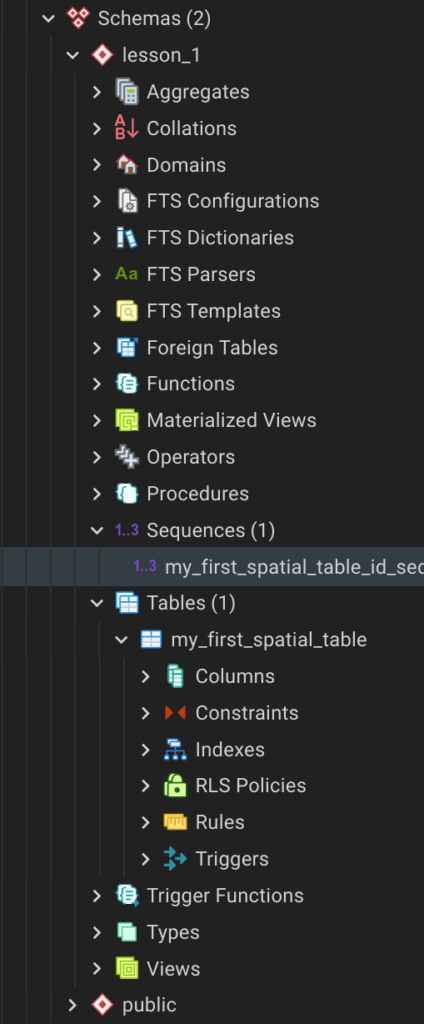
6. Locate the table in the database tree and right-click on it and then click on View/Edit Data > All Rows.
7. In the table, you will see that each row was inserted into the table and the ID values were automatically created using the sequence. If you expand the Sequences section in the database tree, you will see that a sequence was automatically created when we created the table. This was created because we used the SERIAL data type for the id column.
How can we help?
Contact us today to schedule a free consultation with a member of our team.